Do it yourself ideas can be a fun aspect that could be carried out when looking to beautify and redesign a kitchen space. There are many different ideas that can be implemented as a DIY project to enhance your kitchen area. Here are 4 fun ways to redecorate a kitchen space using do-it-yourself ideas.
Do It Yourself Ideas #1: Contact Paper

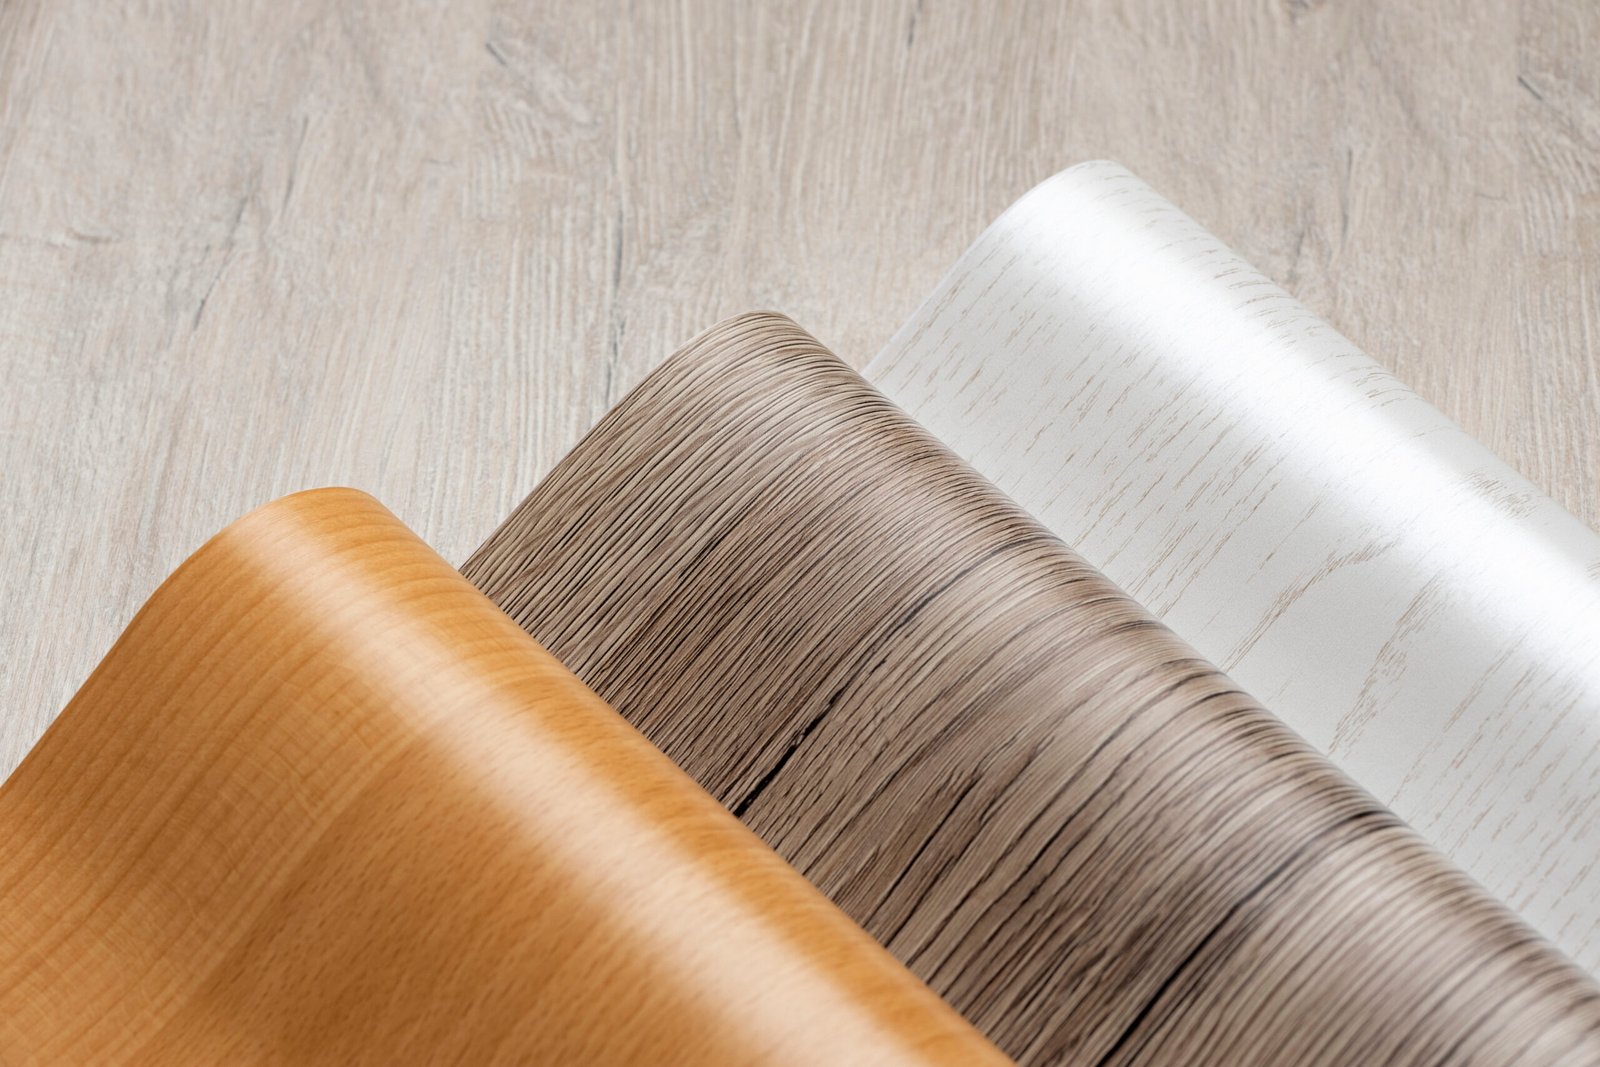
Contact paper is an affordable and versatile solution for countertop makeovers as it offers a quick and easy way to transform the appearance of any kitchen surfaces. With its adhesive backing, contact paper can be directly applied to existing countertops and it helps with hiding imperfections and outdated designs without requiring extensive preparation or other specialised tools. Available in a variety of colours, patterns and textures, contact paper allows home owners to customise their countertops to match a certain personal style and decor preferences.
Whether one prefers the sleek look of marble, the brown warmth of natural wood shades or the more fun and funky prints, there is always a contact paper design made to suit the intended aesthetic. Additionally, contact paper is durable and easy to clean; thus, making it an excellent choice for busy areas such as the kitchen. Installation is relatively straightforward as it needs basic measuring and cutting skills alongside with a few simple items such as a ruler and cutting apparatus. Once applied, the contact paper can be smoothed out with a squeegee to ensure that it adheres properly and lasts long.
Despite the low cost and ease of use that comes with this material, contact paper can achieve impressive results that mimic the look of more high-end materials; therefore, giving home owners a kitchen countertops that looks like a stylish upgrade without breaking the bank. Whether you are into DIY projects or just require a temporary solution that is quick and a budget-friendly way to refresh your kitchen, contact paper offers a convenient and customisable option for DIY countertop makeovers.
Do It Yourself Ideas #2: Concrete Overlay

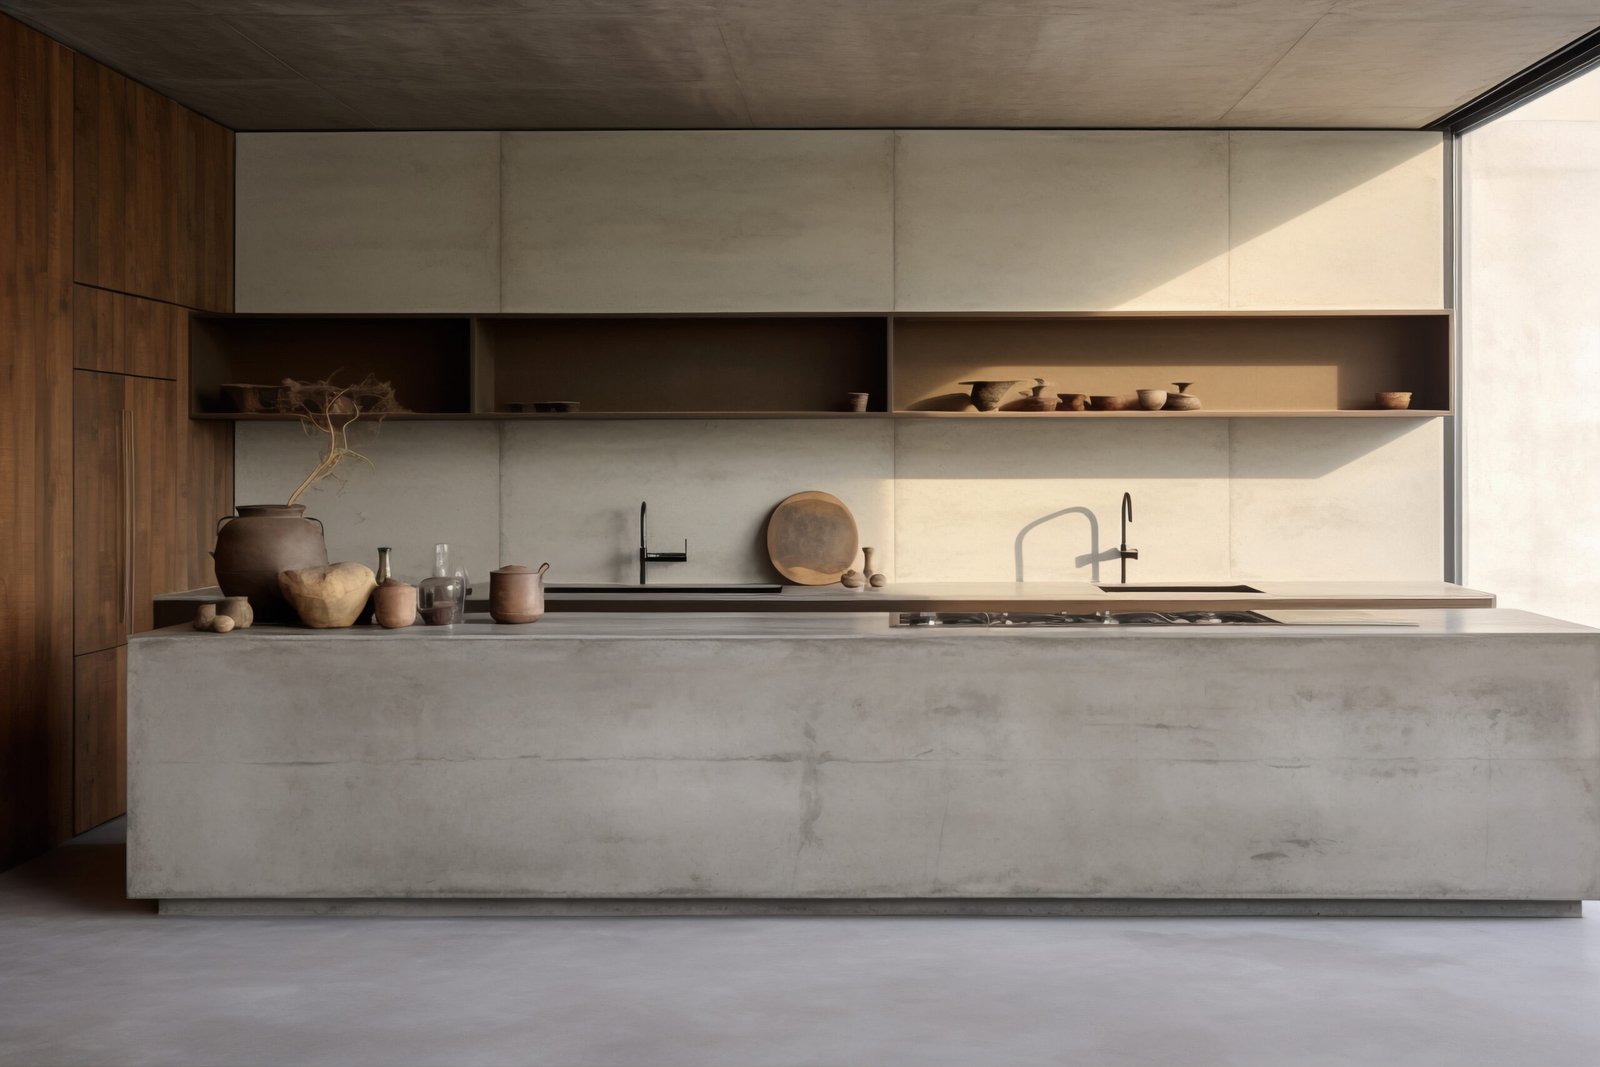
A concrete overlay can significantly change the appearance of the kitchen countertops as it helps in giving them a contemporary and industrial vibe. While this project is straightforward, it requires thorough preparation and attention to detail to achieve a proper and professional finish. Start by ensuring all the countertops surfaces are clean and free of debris. Once it is clean, lightly roughen the surface with sandpaper to improve the adhesion process. Next, adhere to the manufacturer’s instructions when it comes to mixing the concrete overlay.
Proper utensils are required during the application process. In this case, use a trowel to apply the overlay to your countertops. Make sure to work in small sections to ensure an even coverage. Press and smooth out the overlay with the trowel as this helps in removing any trapped air bubbles or lumps in the paste mix. After allowing the overlay to dry for the specified time which is usually between 24 to 48 hours, lightly sand the surface to eliminate any rough areas that are present. Finally, apply a concrete sealer to protect the surface from other stains and damage which also helps in enhancing the concrete’s colour for a more polished look.
One of the advantages of a concrete overlay is its versatility. The colour and texture of the overlay can be customised to match your style whether a smooth and glossy finish or a more rugged and industrial appearance is preferred. Additionally, concrete is a durable material that can withstand the nature of the busy and lively daily kitchen; hence, making it a practical choice as a countertop material. With a concrete overlay, home owners can achieve a fancy look without overspending on the budget; therefore, making it an appealing option for budget-conscious home owners that are looking to refresh their kitchen.
Do It Yourself Ideas #3: Painting Projects

Painting your countertop is a great DIY project that can give your kitchen a brand new and fresh look without a hefty price tag. Begin by cleaning the surface thoroughly to remove any remaining grease and dirt and then lightly sand it to create a rough texture which will help the primer to grip onto. Use painter’s tape to protect surrounding surfaces on the countertop. Next, apply a specific primer designed for countertops to create a solid base for the paint.
Once the primer is dry, start painting with a durable countertop paint. Apply several thin and even coats for a smooth finish. Allow each coat to dry completely before applying the next to avoid streaks and unevenness. After the final coat has dried, seal the surface with a clear and food-safe sealant to protect against scratches, stains and heat that may develop over use. This step is crucial for maintaining the longevity and durability of your new countertop finish. Follow the manufacturer’s instructions for drying and setting times as rushing the process may compromise the durability of the product.
This project not only changes the look of the kitchen but also adds a personal touch to existing space. With various colours and finishes available, home owners can customise their countertops to complement their kitchen decor and aesthetics perfectly. Painting the kitchen countertops is a rewarding and impactful way to refresh the kitchen space, showcasing creativity and attention to detail.
Do It Yourself Ideas #4: Incorporating Tiles

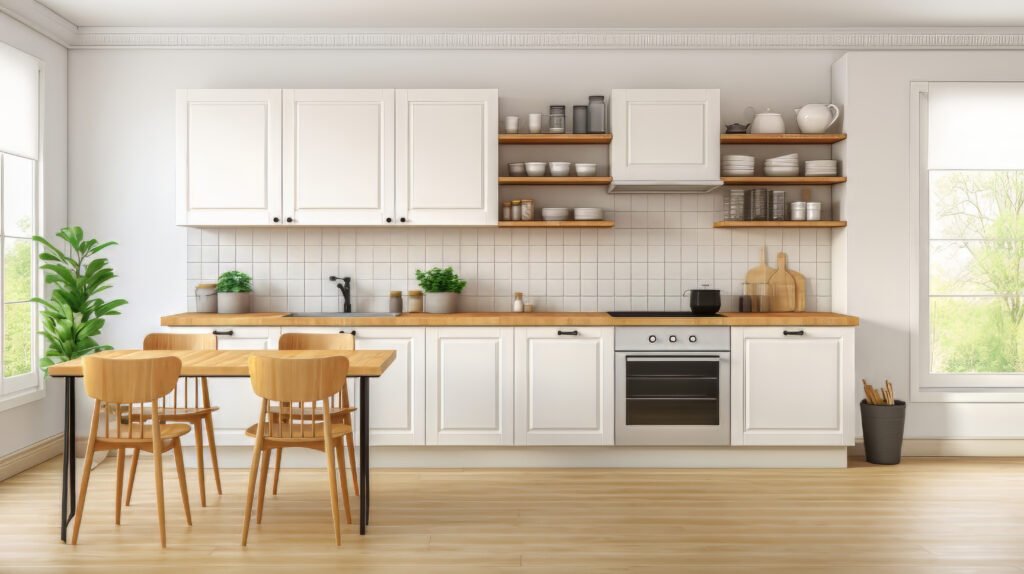
Transforming the kitchen countertop with tiles can be a versatile and rewarding do-it-yourself project that adds a fresh and stylish look to existing space. By following a few steps and using the right materials, home owners can achieve astounding results. Start by measuring the countertop area and planning the tile layout. This will help to ensure that there is adequate tiles for the desired pattern and aesthetics based on the design one is going for. Once the required amount of tiles has been decided and laid out, gather the other materials such as tile adhesive, grout and tile spacers as this is key in a smooth application process.
Begin by cleaning the countertop thoroughly in order to remove any left over dirt or debris. Next, apply the tile adhesive evenly across the surface using a trowel. Place each tile onto the adhesive and use the tile spacers to ensure there is consistent spacing between the tiles. Once all the tiles are in place and the adhesive has dried down completely within 24 hours, the next step would be to apply the grout. Apply the grout with a grout float and press it into the spaces between the tiles. After applying the grout, wipe off excess grout with a damp sponge and be sure that everything looks even and complete.
Allow the grout to set for the recommended time which is typically for 1 to 2 days. Seal the grout thoroughly to protect it from future stains and moisture. Finally, clean the tiles with a gentle cleaner to remove any remaining residue which may have been left behind during the DIY process. With attention to detail and focus, tiling the kitchen space can be a satisfying DIY project that enhances the beauty and functionality of the kitchen space.


